Importing Images
Overview
In this tutorial you will be guided through the following Image Import processes:
##Adding Image to Products
Importing images onto products that have no images
##Adding More Images to Products
Adding additional images to Products that already have images
##Replacing Product Images
Replacing all existing images on Products with new images
##Replacing Some Images
Replacing some, but not all existing images on Products with new images
Note: Scroll to the bottom to navigate to our guide for each import process above.
Before You begin
Before you begin, it is important to understand the three below concepts:
- Image Types
- Image Locations
- Import Types
Image Types
There are two main Image types that you can import images to on your products.
Image | Description | CSV Column |
|---|---|---|
Main Image | The main image that will appear first and on all product locations in your store (category page, product page, shopping cart, checkout, emails, and featured/new product lists) | image |
Gallery Image | Also called "Media Images" These are additional images that will display only on the Product Page below or next to the Main Image. |
|
Image Locations
Before starting your import, you will need to have your product images stored in either of two locations:
Uploaded to Zoey
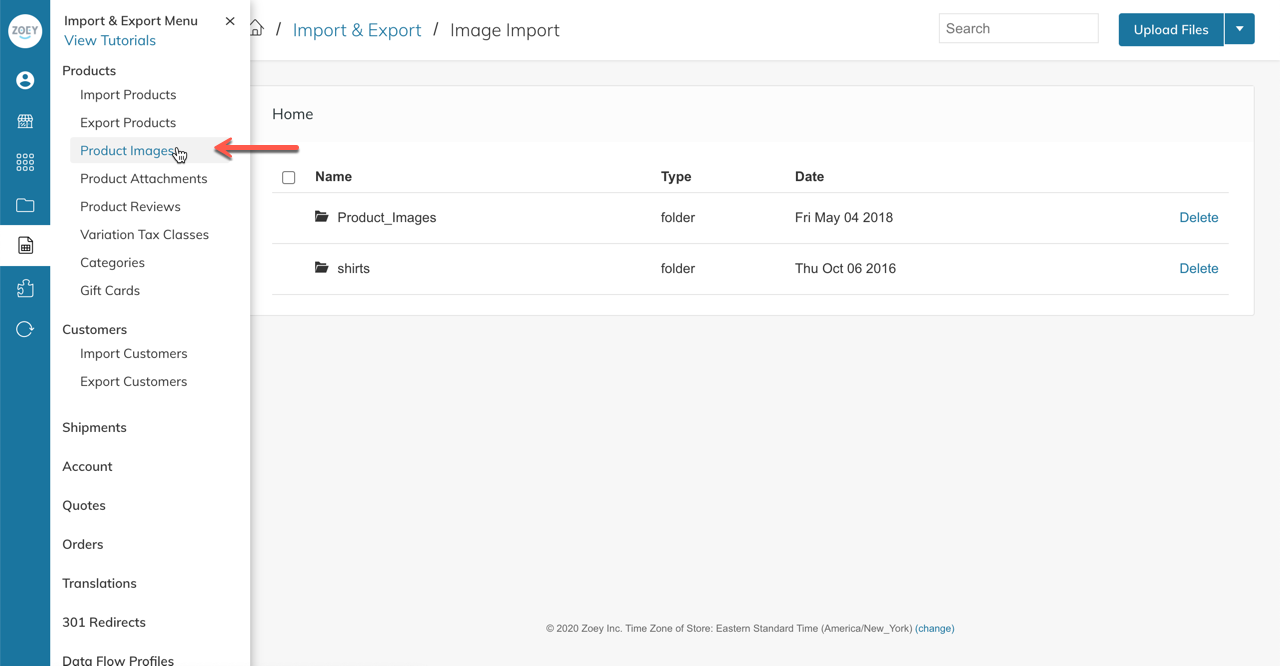
- If you have your product images in a folder on your computer, you will need to upload them to your Zoey Store. Click Product Images from the Import & Export menu (see below)

Images live elsewhere (DropBox/External Server/URL)
- If you already have your images "in the cloud", there is no need to move the files to Zoey before importing them onto your products.
- Learn more about Importing Images from an External Source (URL)
Import Types
There are 3 Import Types you will encounter when in the Advanced > Import & Export > Import Screen (See Below)
Append Complex Data | To be used when adding images without removing the images that are already there |
Replace Existing Complex Data | To be used for replacing all images with the new images in your CSV |
Delete Entities | DO NOT USE - This will delete any product in the CSV |
Video Tutorial
Updated 9 months ago
