AfterShip
Maintenance ModeYour store cannot be in maintenance mode to setup/use AfterShip as it will not be able to properly connect.
Generate AfterShip API Credentials
In your Control Panel, select Apps.
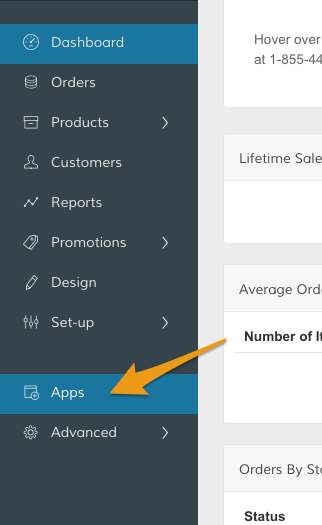
Then, in the Apps page, after adding the AfterShip App (https://www.zoey.com/apps/aftership), scroll to AfterShip. In the Setup section, click Manage.

When you're ready, click Create The AfterShip API Key. This will generate API credentials that you will use in AfterShip to finalize the connection.
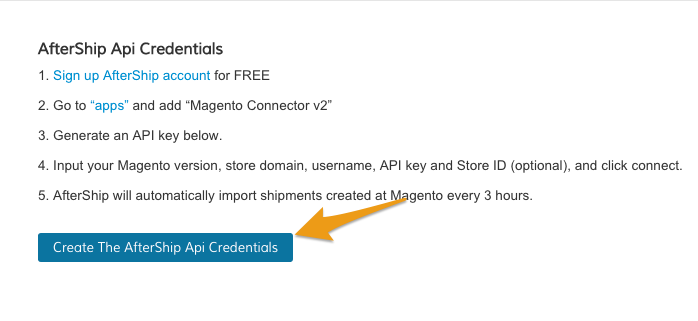
Create / Verify API Credentials
Copy the generated API Credentials and go to Advanced->API Configuration and then click on Manage next to "API Users" in "Standard API"
If you do not see the username listed from the API Credentials you just copied you'll need to click on "Add New User" on the top right.
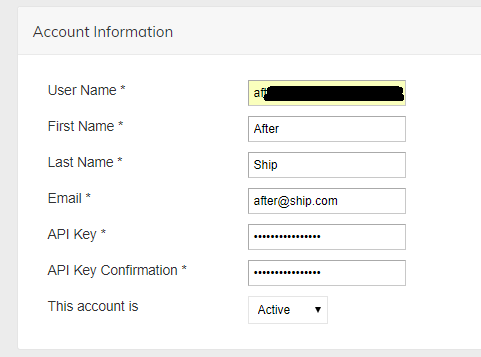
Click on "User Role" on the left and make sure that the Admin role is selected

Then hit Save User
Enable Aftership
In the Apps page, from AfterShip's Settings section, click Manage.

Then, from the Account Settings section, update the following fields:
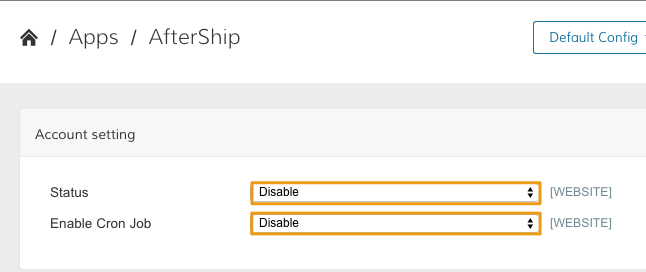
- Status - Set to Enable to make AfterShip visible on the frontend.
- Enable Cron Job - Set to Enable to allow AfterShip to automatically schedule tasks within Zoey.
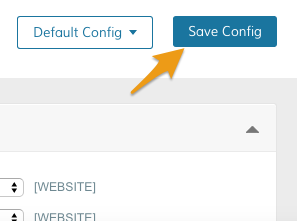
When you have finished making those updates, click Save Config.
Sign Up For AfterShip
Sign up for a new account from here. You will be prompted to create your Aftership credentials.
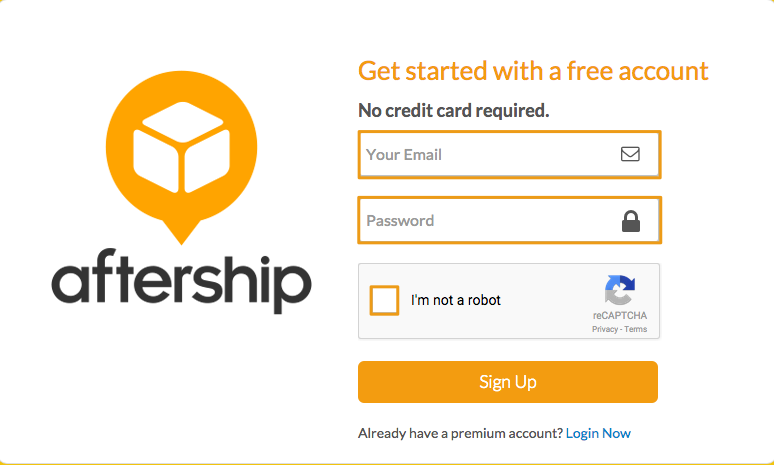
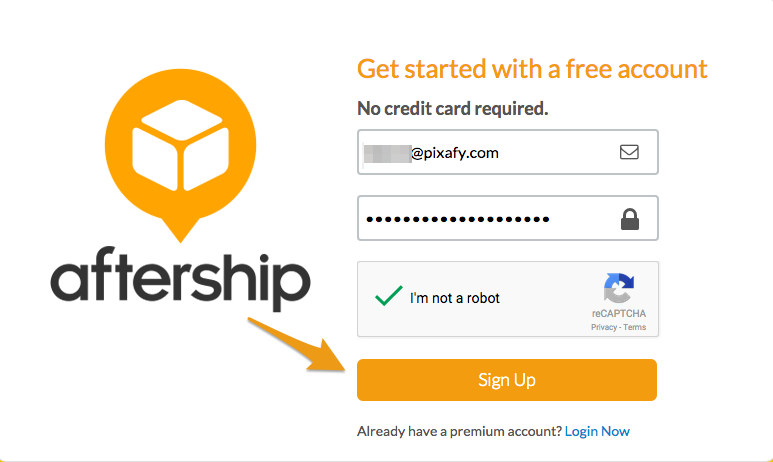
Then, click Sign Up.
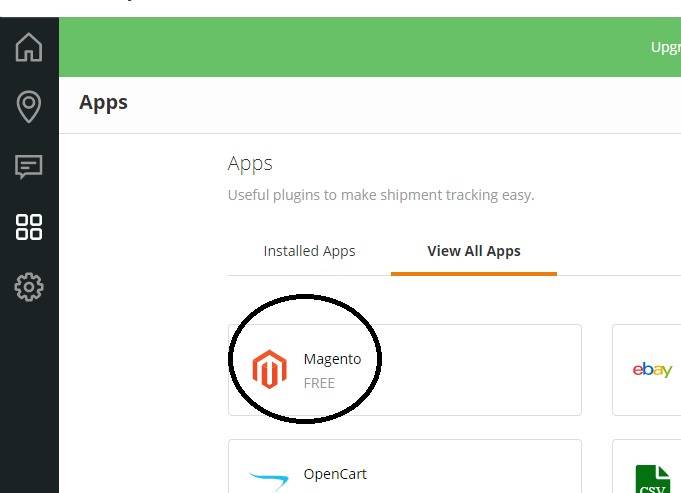
Select Magento from AfterShip Apps
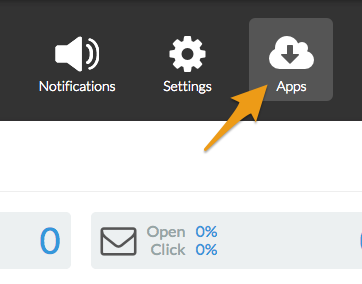
In your AfterShip dashboard, click Apps.
Select Magento from the Apps Page
Connect Zoey with AfterShip
After clicking on the Magento App - make sure that you have added the Magento Connector 1 App which should look like the below.
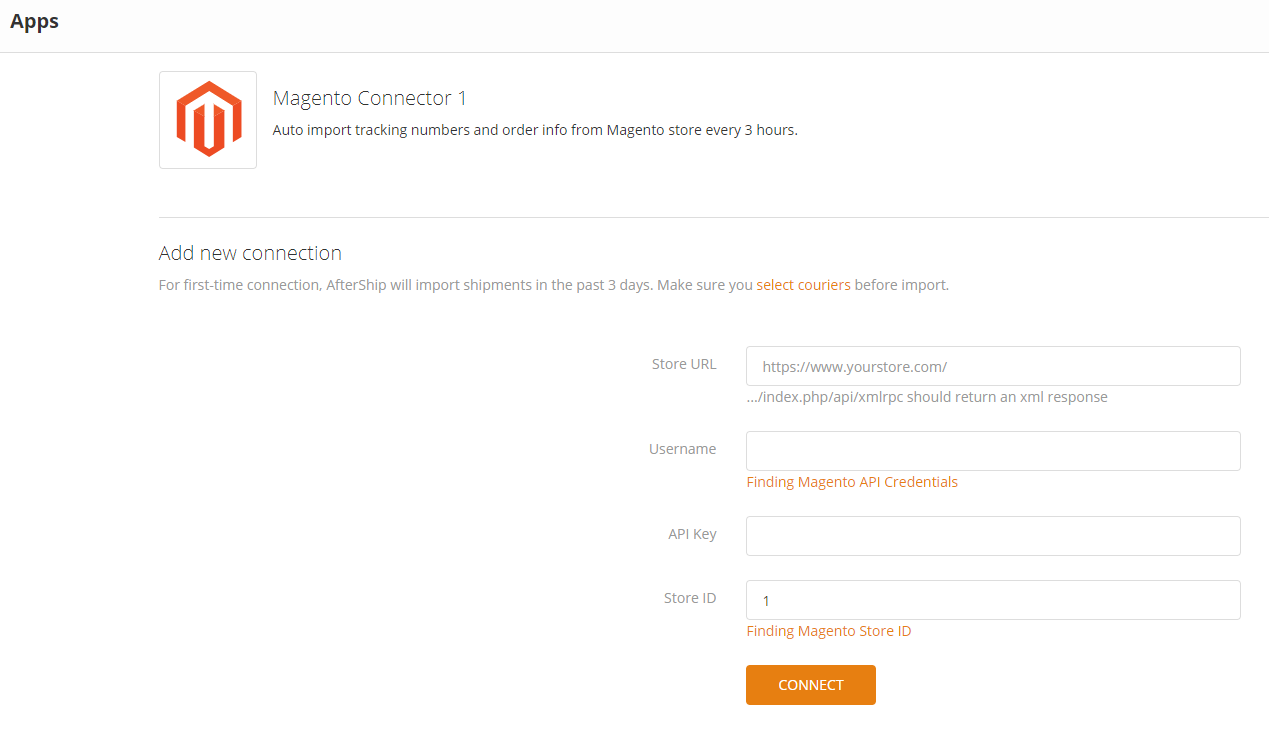
AfterShip Field | AfterShip Value | Example |
|---|---|---|
Store URL | Your Zoey Admin Store URL | https://XXXXX.zoeysite.com where XXXXX gets replaced by the URL in the Zoey Admin after you login |
Username | Your Zoey AfterShip App API Username created in previous steps | |
API Key | Your Zoey AfterShip App API Key created in the previous Step | |
Store ID | This does not exist in Zoey - you should use the value of 1 | 1 |
You should now be successfully connected!
Updated 9 months ago
