Stripe
Stripe is a simple to set-up payment method that supports all major credit, debit, gift and prepaid cards, and over 100 currencies.
Stripe Payment Gateway Setup
Stripe Payment Gateway can be set up as an online Payment Method to accept all major credit, debit, gift and prepaid cards, and over 100 currencies.
Stripe ACH Payments allows you to accept online payments using ACH. Requires enabled Stripe Payment Gateway.
Enable Stripe
Stripe can be enabled and managed in Settings > Payment Methods.
- Click Add Payment Method in the top-right.
- Find Stripe Payment Gateway in the list.
- Click Add.

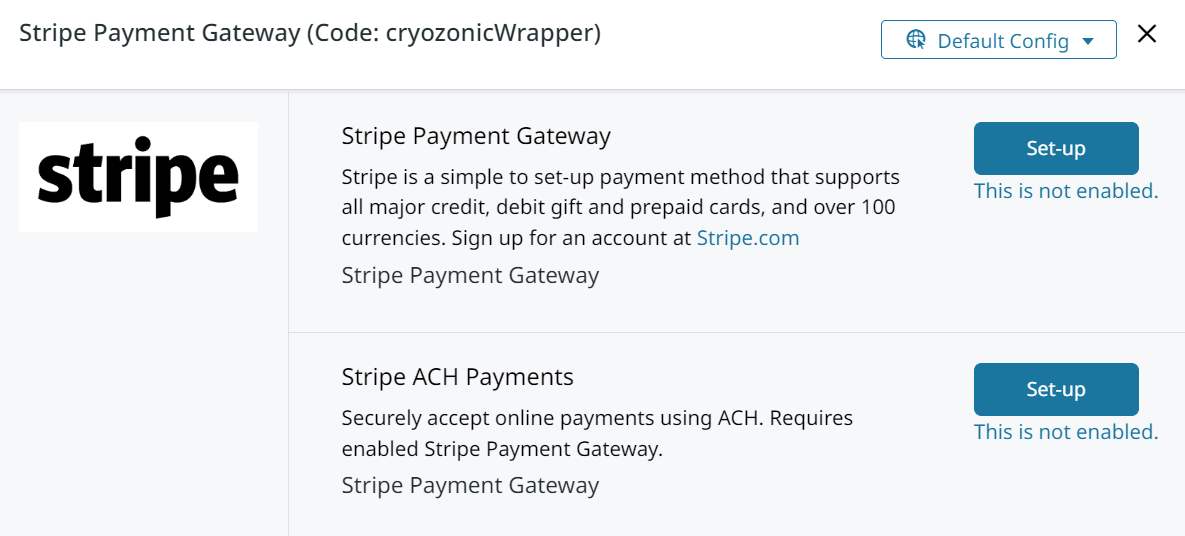
Click on Set-up, set Enabled to Yes, then click Save.
This will add Stripe to your Payment Methods screen.
If Stripe does not display in your payment methods, click here to install the Zoey Stripe App
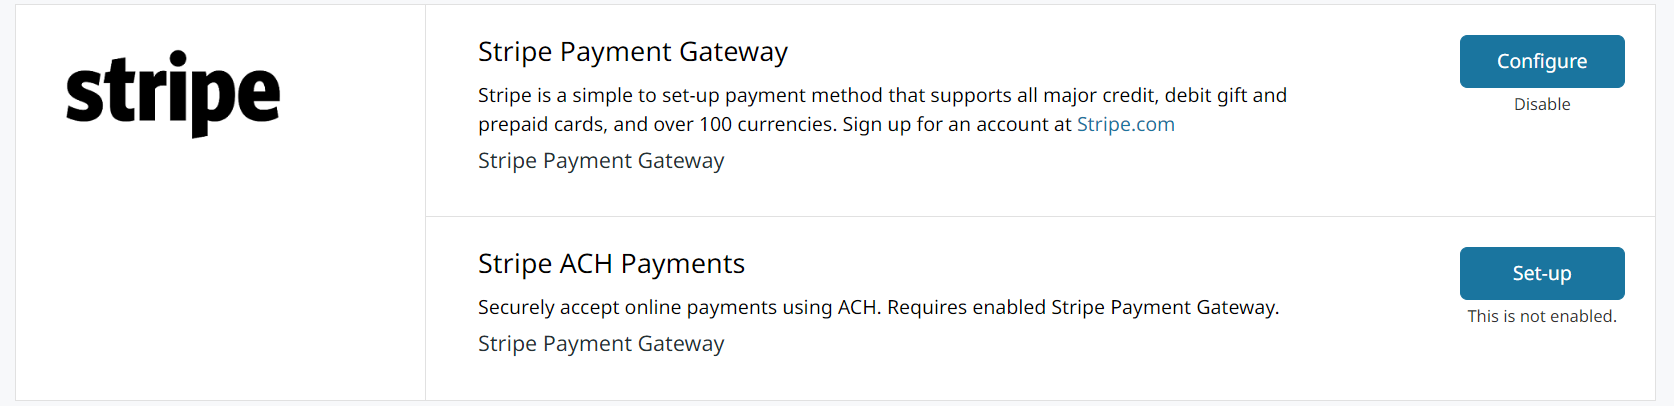
Setting up Stripe Payment Gateway
After enabling Stripe for your store:
- Navigate to Settings > Payment Methods > Stripe Payment Gateway
- Click Configure
Stripe ACH Payments setup instructions can be found here
Connection Settings
Use Test Mode during implementation. Use Stripe test cards to verify your checkout.
Click here for a full list of Stripe Test Credit Cards
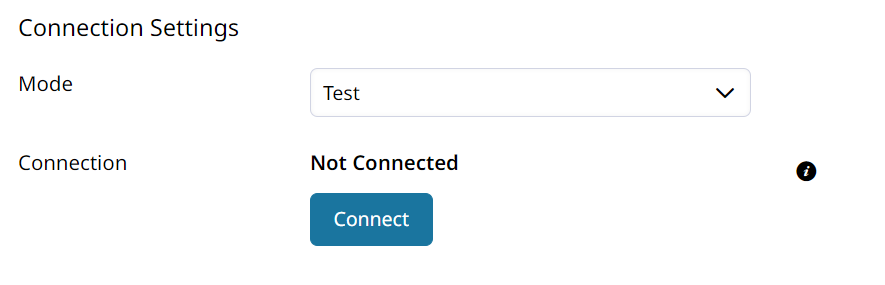
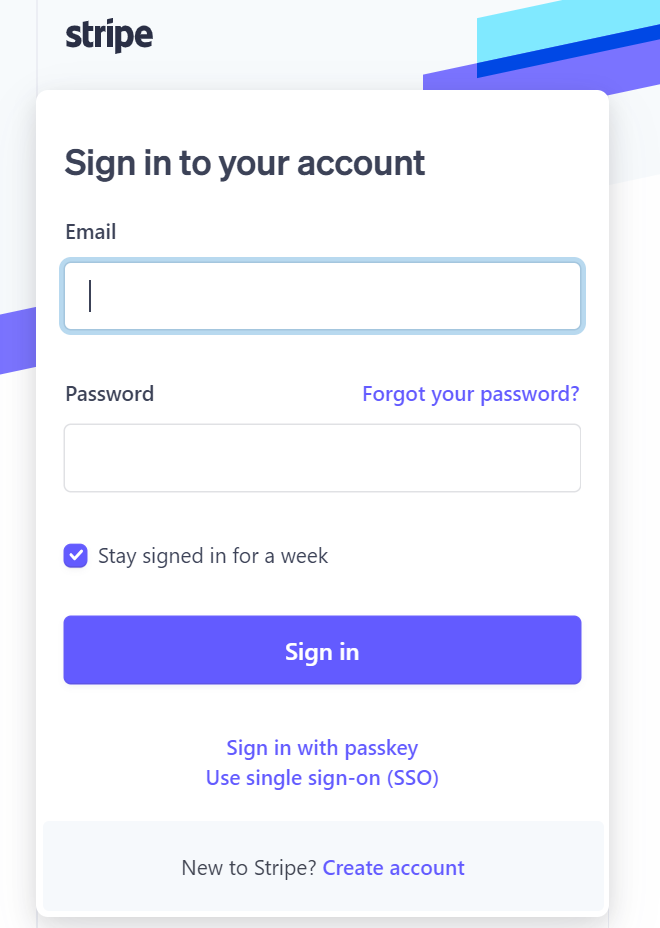
Click Connect and sign in to your Stripe account.
Your authorization will be saved after logging into Stripe through the Payment Method's settings.
Enable Test Mode or Live Mode depending on your implementation stage.
Preferences
Payment Action has three options:
| Option | Description |
|---|---|
| Authorize only | Places a hold but doesn't charge the customer |
| Authorize and Capture | Charges the customer at the time of purchase |
| Save Credit Card Only | Saves card details for future use, no charge or hold |
Other preferences include saving cards, handling expired authorizations, accepted currencies, and min/max amounts.
Advanced
Configure:
- Stripe emails
- Invoices
- Fraud protection (Radar)
- Surcharges
- Apple Pay
To enable Apple Pay:
Set Apple Pay to Enabled within Stripe Payment Gateway settings.
Apple Pay, Google Pay, Microsoft Pay
Enable with the single Apple Pay = Enabled setting.

ApplePay file upload is handled automatically by Zoey.
Disable Stripe Radar in Zoey to use Apple Pay.
Stripe Domain Validation must match your exact domain (e.g.,www.domain.com, not justdomain.com).

Before going live, change Mode to Live.
Stripe Settings Overview
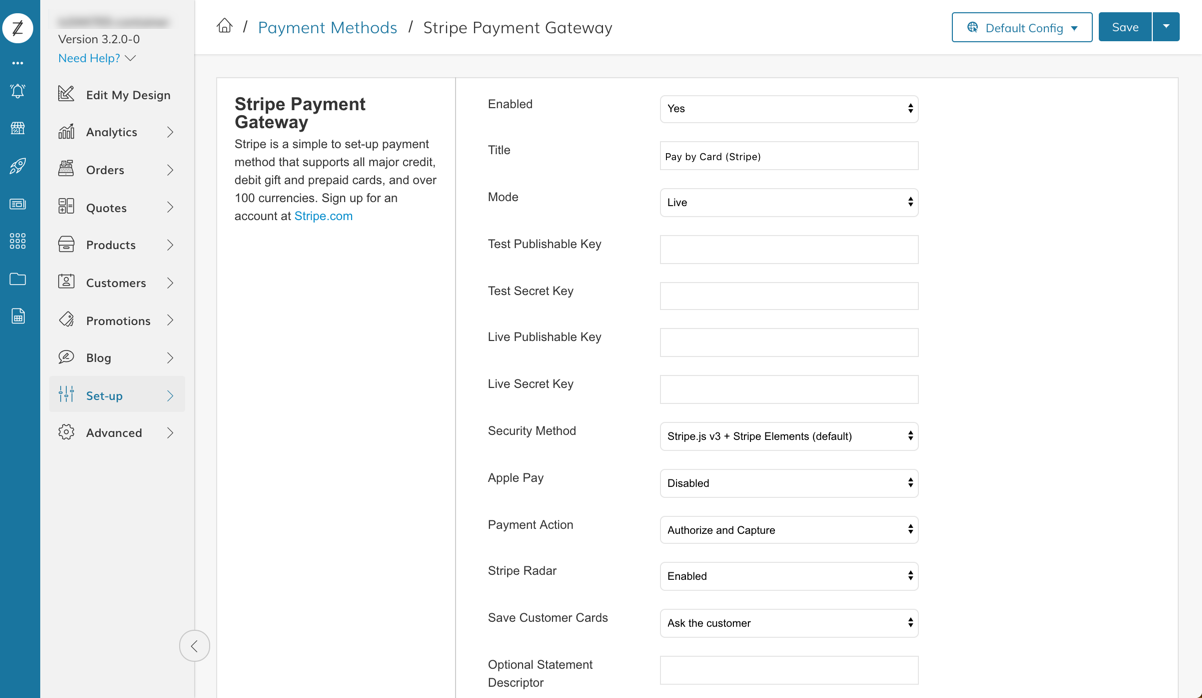
Key Settings
- Enabled: Activate/deactivate payment method.
- Title: How it appears in checkout.
- Mode: Toggle between Live and Test.
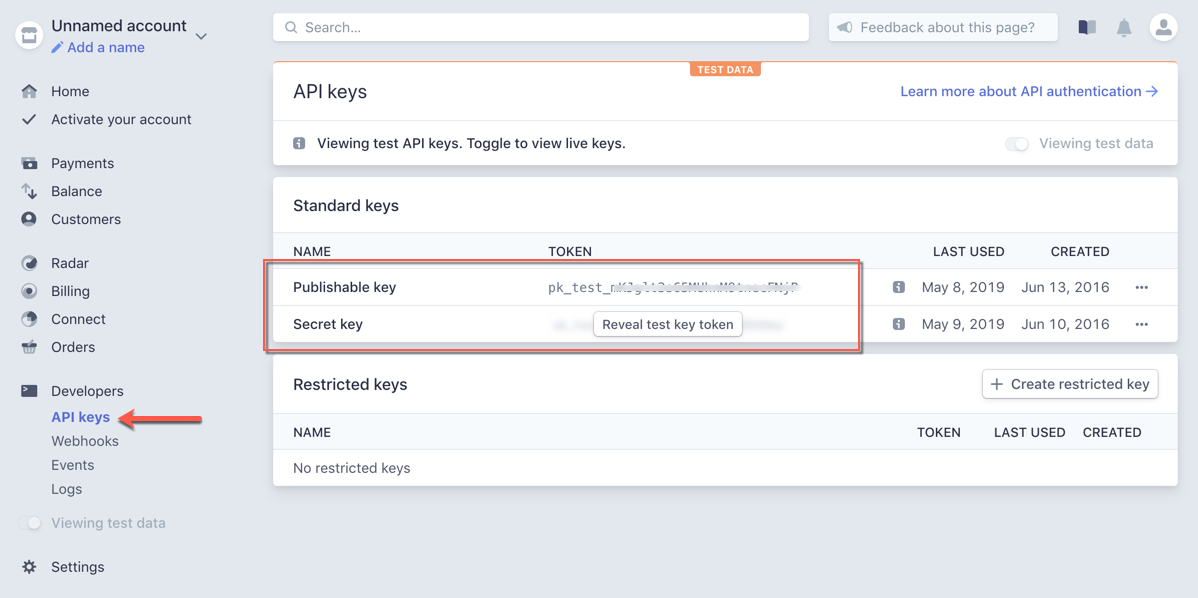
- API Keys: Use values from Stripe Dashboard → Developers → API Keys.
- Apple Pay: Enable for multiple express pay methods.
- Payment Action: Choose from authorize-only, capture, or save.
- Stripe Radar: Must be separately enabled at stripe.com/radar
- Save Customer Cards: Choose whether and how cards are saved.
- Statement Descriptor: Optional label for credit card statements.
- Email Copy of Invoice: Optionally receive Stripe-generated invoices.
- Pay in Store Currency: Forces charges in your store’s currency.
- New Order Status: Customize default order status for payments.
- Accepted Card Icons: Show credit card icons on checkout.
- Stripe Email Receipts: Option to have Stripe send customer receipts.
- Payment Applicable From: Limit payment method to specific countries.
- Minimum Order Amount: Control minimum payment eligibility.
- Sort Order: Display order in checkout.
Surcharge Settings
There are multiple settings to configure a surcharge when customers pay via Stripe:
- Apply Surcharge
- Apply Surcharge In Admin Only
- Surcharge Threshold
- Surcharge Type (Flat/Percentage)
- Surcharge (Amount or %)
- Min/Max Surcharge
Stripe charges per transaction. Configure surcharges accordingly.
You may also add fees post-order in the invoice.
Updated about 1 year ago