Creating Sub-Categories (Child Categories)
Your Categories exist as navigation links that display as standalone items (top level Categories or Links), or they can display as a collection of links within a navigation drop-down menu.
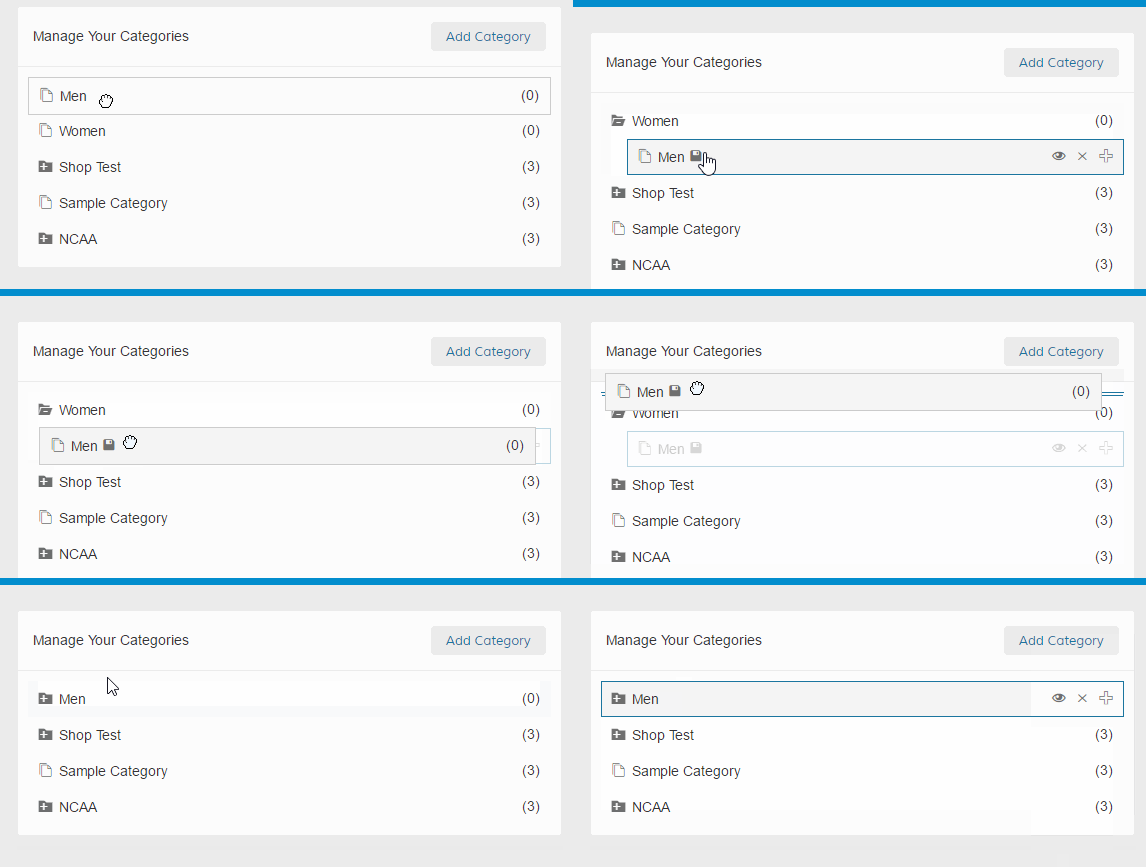
The order in your Category List determines the order in your Header Navigation in the frontend. If you want to change the order you can do this any time by dragging the categories into the desired position.
To place your new Category inside another Category, click on it and drag it until you see a + icon. This indicates that it will add the Category to another one, creating a folder. You may also click on the + icon of a category to create a new "child" sub-category.
*Note: Categories on the CSV are case sensitive.

Make sure to save the changes by clicking in the top right of your Category page Save All Categories.
Creating Your CSV File Using Names/Paths
The import CSV to put products into categories has just two columns: sku and _category.
Under the _category header, enter the main category and any sub-categories within, separated by a / slash. See the examples below:

sku |
|
glass-votive | Shop/Candles and Scents/Votives |
silver-frame | Shop/Frames and Wall Art |
Importing your CSV File
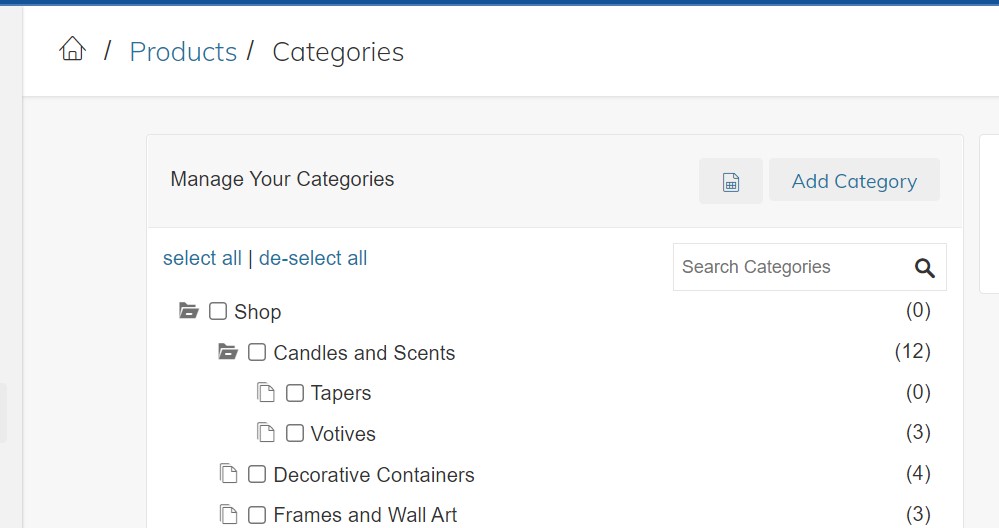
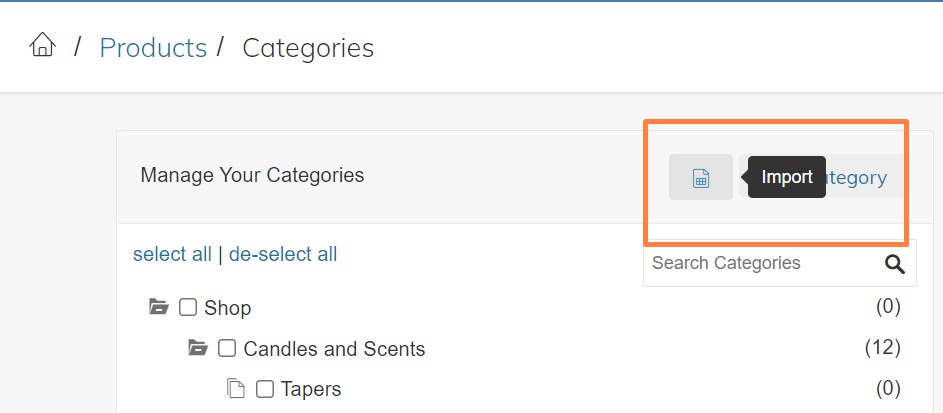
Use our Category Import tool located in Products > Categories to upload your CSV.

If you have duplicate sub-categories, you must use the Category IDs, not Category Names/Paths.
Updated 9 months ago
