Step 1: Prepare your Zoey Data
Create Product Attributes for NetSuite
Zoey Products will automatically link to NetSuite with a few “Custom Attributes” filled in.
Start by navigating to Products > Attributes and create the following attributes.
1. NetSuite Product ID
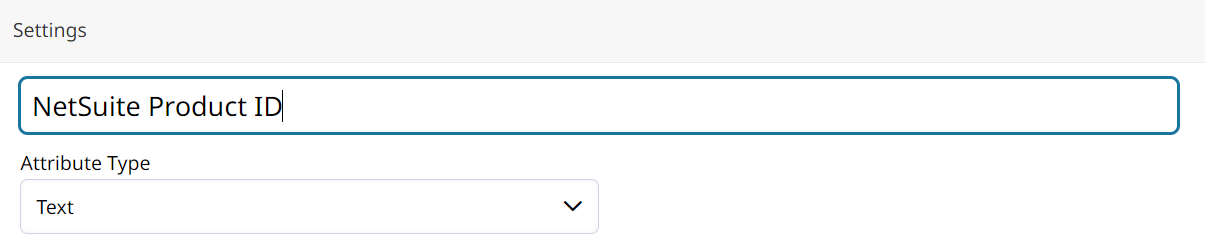
- Attribute Type: Text
We will select this attribute as the link between your products in a later step. You do not need to make this attribute public.
2. NetSuite Item Type

- Type: Dropdown
Item Type is not required for the integration.You can create this attribute and include it in the mapping, but it is not required. If you are mapping these values, they must be added to the attribute.
After clicking Save, scroll down to the “Values” section and add the NetSuite Item Types.
For example:
- inventoryItem
- lotNumberedAssemblyItem
Link Zoey SKUs to NetSuite Product IDs
Next, create a spreadsheet that will associate your Zoey SKUs with the correct NetSuite Product IDs and Item Type. This data should be easily exportable from your NetSuite environment.
| sku | netsuite_product_id | netsuite_item_type |
|---|---|---|
| e.g. ABC-1234_5 | 539 | inventoryItem |
| e.g. DEF-1234_5 | 318 | lotNumberedAssemblyItem |
Once completed, import this spreadsheet as a CSV File following the standard product data import process.
Link Zoey Accounts to NetSuite Customer IDs
Typically, NetSuite Customers will be imported into Zoey using the NetSuite API. However, if you want to assign NetSuite Customer IDs to Accounts existing in Zoey, you may do so via CSV import.
Create a CSV spreadsheet that will associate your Zoey Accounts with the correct NetSuite Customer IDs.
| account_name | account_netsuite_customer_id |
|---|---|
| Zoey Inc. | 1234 |
Once completed, import the spreadsheet as a CSV File following the standard Account Data Import
Payment Methods and Shipping Methods should be set in Zoey before testing the Zoey NetSuite Integration.
Updated about 1 year ago