Authorize.net
Add Authorize.Net To Payment Methods
Click Here to install the Zoey Authorize.net App
Enter API Login ID And Transaction Key
From your Authorize.Net account > Security Settings > API Credentials & Keys, copy your API Login ID and Transaction Key. Then, from Set-up > Payment > Authorize.net, paste your information into the corresponding fields:
To learn how to obtain your Transaction Key see https://support.zoey.com/docs/authorizenet-transaction-not-accepted
Enable And Configure Your Authorize.Net Settings
First, from the Enabled field, select Yes.

Then configure the rest of your Authorize.Net settings. Here are a few we recommend reviewing before you finish:
| Title | Select a name for your payment gateway that appears on the front end. |
| Payment Actions | Select Authorize to approve a purchase but receive payment at your discretion. Select Authorize and Capture to immediately receive payment from customers when they purchase via Authorize.net. |
| New Order Status | Select a status for each order paid through Authorize.Net. |
| Test Mode | Set to Yes to test the payment gateway before using it on your live store. Select No when you're ready for Authorize.Net to go live. |
| Accepted Currency | Select an accepted currency for payments via Authorize.net |
| Email Customer | Select Yes to send an email to customers after completing checkout. |
| Merchant's Email | Enter your email here to receive a notification from Authorize.net after your customer complete's a transaction. |
| Credit Card Types | Select credit cards allowed to purchase via Authorize.net. Hold Command (Mac) or CTRL (PC) to select multiple options. |
| Credit Card Verification | Select Yes to require verification. |
| Payment from Applicable Countries | Select All Allowed Countries to place no country restriction on using Authorize.Net. Select Specific Countries to restrict payment to individual countries. Hold Command (Mac) or CTRL (PC) to select multiple options. |
| Minimum and Maximum Order Total | Set the minimum and maximum currency value for orders purchased through Authorize.Net. |
| Sort Order | Enter a numeric value to determine the order your payment option appears. |
| 3D Secure Validation | Select Yes to enable 3D Secure credit card validation. |
Learn more about the difference between Authorize and Authorize & Capture when processing CC payments here.
Save
When you finish, click Save.

Errors while in Test ModeWhen Zoey Authorize.net Settings are set to Test Mode = Yes, and Authorize.net as well, you cannot create Payment Receipts for Invoices. When both are in Test Mode, Authorize.net won't return a Transaction ID - it always returns 0 which causes a duplicate error.
Please change Test Mode to No in Zoey and set it to No in Authorize.net as well. Please note that by disabling Test Mode while you have the Test Gateway URL in Zoey, you can still use test cards.
Use Authorize.Net Direct Post (optional)
Creating this method is very similar to our standard Authorize.Net setup:
- From Set-up > Payments, scroll down to Authorize. Within the Direct Post subsection, click Set-up.
- Enter your API Login ID and Transaction Key, found in your account, per Step 2 of our guide.
- Enter your Signature Key (instructions below)
- Enable and configure your Direct Post settings, per Step 3 of our guide.
- Save.

As of April 2019 Authorize.net no longer supports MD5! You need to get a new Signature Key and add it to your Zoey Configuration.
- Log into the Merchant Interface at https://account.authorize.net.
- Click Account from the main toolbar.
- Click Settings in the main left-side menu.
- Click API Credentials & Keys.
- Select New Signature Key. Review the options available.
- Click Submit to continue.
- Request and enter PIN for verification.
- Your new Signature Key is displayed. Copy this key to add to your ZoeyAdmin configuration.
Take the following steps to update the Zoey Admin configuration:
- Log into the Zoey Admin.
- On the Admin sidebar, click Setup->Payments. Then click on Configure next to Authorize.net Direct Post
- In the Signature Key enter the SHA-512 Signature Key.
- Click Save Config.
- Go to Advanced->Refresh Your Store
Learn about Store Scope for Multi-language and Multi-Currency Stores
Authorize.Net CIM
The CIM is a feature of the Authorize.Net payment gateway which will save your customers' credit card details.
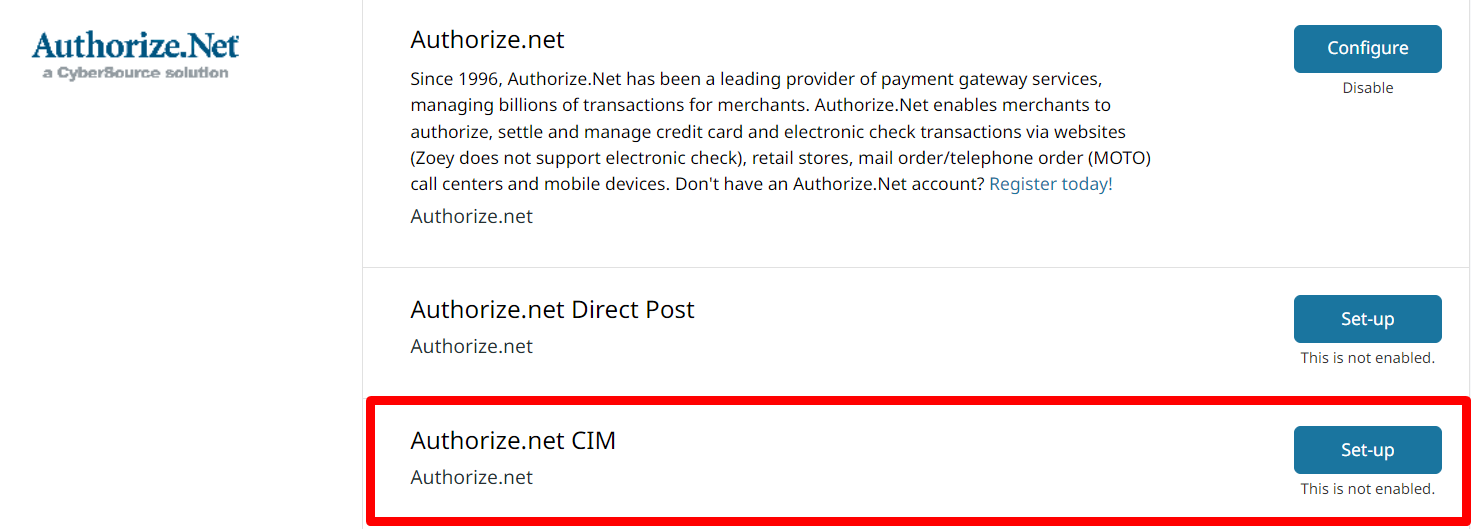
To save customer cards with Authorize.Net CIM, go to Settings > Payment Methods and click Configure next to Authorize.Net CIM.
There you can set Enabled to Yes and configure the following settings:
- Automatically Save All Cards
When set to Yes, automatically save credit card information for logged-in users. Selecting 'No' will give users a checkbox to save their card info. - Save Card Only on Order Submit
When set to Yes, the card will only be saved nothing will be authorized or captured when the Order is placed - you will have to manually authorize/capture after the Order is placed. This setting exists because some customers just want to Save the card at the time the Order is placed and not actually Authorize/Capture.
When set to No, we will use whatever is configured in Settings->Payment Methods->Authorize.net->"Payment Action" to Authorize Only or Authorize and Capture
The CIM Profile Create still will validate that the card is valid but may not necessarily check that the balance available on the card is enough to approve the Order Total. - Allow Customers to place Orders with Saved Cards
When set to Yes, allow Logged-In Customers to Place Orders with Saved Credit Cards on the Store Front - Manage Payment Profiles enables you to view and manage the saved payment profiles (credit cards) on the CIM.
You can manage your customers' saved cards through the Contact or Account that they are saved to.This allows you to update billing addresses and remove saved cards. Click Here to learn more.
Updated about 1 year ago