Replacing Product Images
Overview
If you need to replace all existing images on products, you can do so using this CSV template and the Import Type = Replace Existing Complex Data.
Often this method is used for the following reasons:
- To delete the images on your products and replace them with new ones
- To re-sort your product image galleries
- To fix issues from previous imports
IMPORTANT - THIS IMPORT TYPE WILL DELETE DATA - BACK-UP YOUR DATAIt is important to note that running this import can and will delete images from your product. Please be sure to have a back-up CSV of your product data before performing this import. Navigate to Advanced > Import & Export > Export and export all products/all attributes.
Create Your CSV File
Since you will be replacing data, it's best to start with an export file from your store. Otherwise, please ensure you have all necessary columns and rows for what you are trying to accomplish.
Be Sure EVERY Image you want on the Product is listed in the CSV before Importing.Running this import will delete all images from any product who's SKU is in the CSV. This is true even if you are simply looking to replace the Main Image. It will delete all gallery images as well. The same is true for replacing Gallery Images, it will delete your main image as well.
Columns
Header | Description | Required |
|---|---|---|
sku | SKU of the product you are adding images to | Yes |
image |
| Yes |
| All Images (1 per row - see below for CSV structure) *should include main image too. | No |
| Alt tag for each listed Image | No |
| Sort position of the Images. | No |
CSV Structure
Note that multiple gallery images are handled with new rows.
Note that the Main Image is repeated in theimageandmedia_imagecolumns and the Main Image's Alt Tag is put in themedia_labelcolumn
Notes on above:
- Image - Full URL Path used because this image is stored externally and will be downloaded during the CSV import.
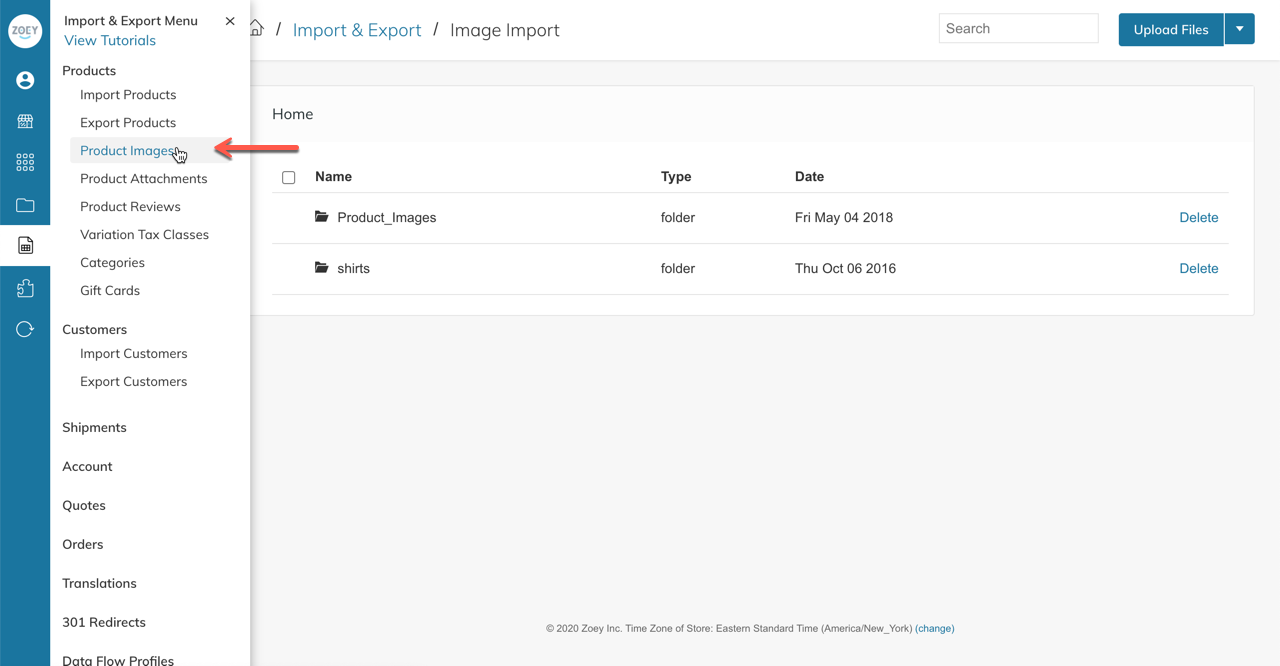
- Media_image - Relative path used because image was uploaded onto Zoey server using Import & Export > Product Images (see below)

Sample File
Import The CSV File
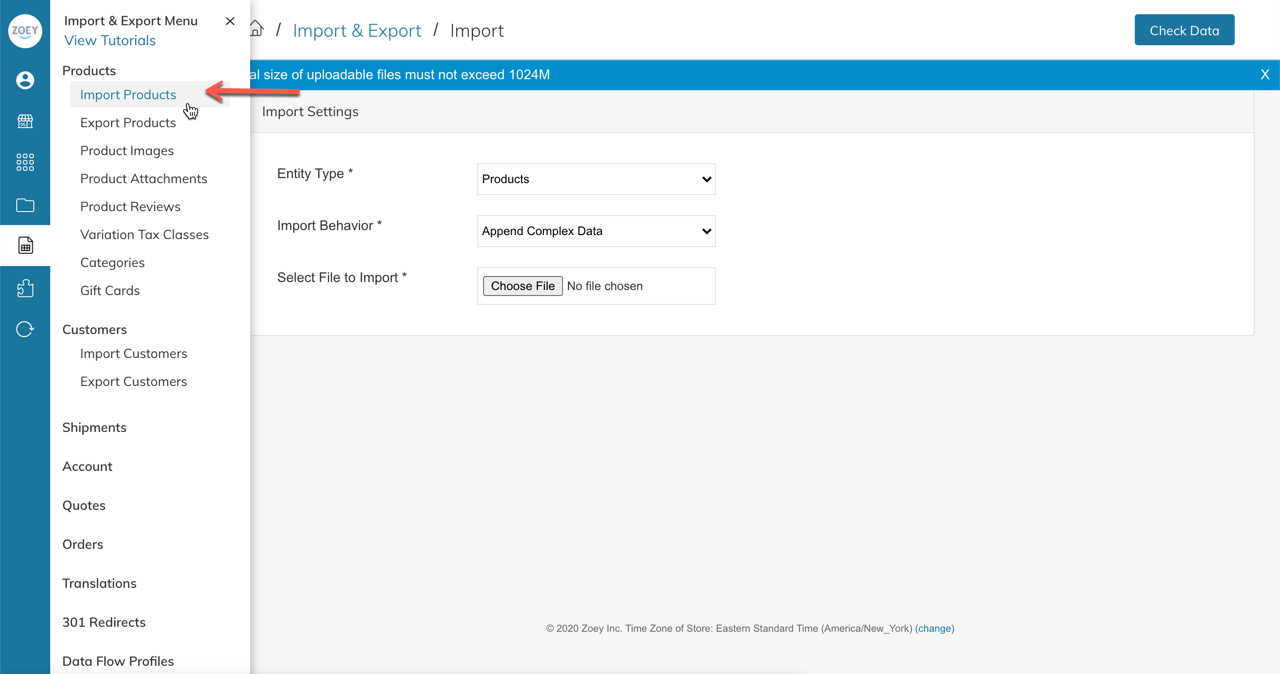
Once your CSV has been Created, proceed to Import & Export > Import Products

- Entity Type = Products
- Import Type = Replace Existing Complex Data
- Upload your CSV file
- Click "Check Data" button in top right of screen
- If everything looks good, you will have a green bar with a button to import
If you encounter errors during the check data step, please read our KB article on Import Errors
Refresh & Review
Often after running imports you may need to Flush Cache and Re-Index (from the "Refresh" menu in the blue sidebar) to see your changes live. to see your changes live.
Updated 9 months ago
