Building a Custom Connector with Zapier
Send and receive Zoey API calls in Zapier to connect with another platform! Zapier lets you to build a custom connector to send or recieve data between Zoey and other systems.
Zapier enables you to create Zaps which can act as a connector between two APIs. Create a Zap using their straightforward interface to build a connector between the your Zoey store's API and another program.
Learn more about Zapier on their website!
This is a partial guide for sending data to, and receiving data from a Zap. General knowledge of APIs and how to connect them will be required. All though Zapier does make this easy through their tool-tips and general availability of information.
Don't be afraid to ask AI!ChatGPT has great insight into Zapier and how to use it!
Sending Data to your Zapier Webhook
Zoey Data mappers can post to an HTTPS endpoint! The mapper is what will enable you to send information to your Zap which can then be tailored for use in another system.
A Zapier Catch Hook will receive the data sent by the Zoey Data Mapper. That data can be processed in the Zap and then sent to another program's API.
Creating a Zapier Catch Hook to receive the Zoey Data Mapper
Start to create the Catch Hook in your Zap:
-
Add Webhook by Zapier and set the Trigger event to "Catch Hook".
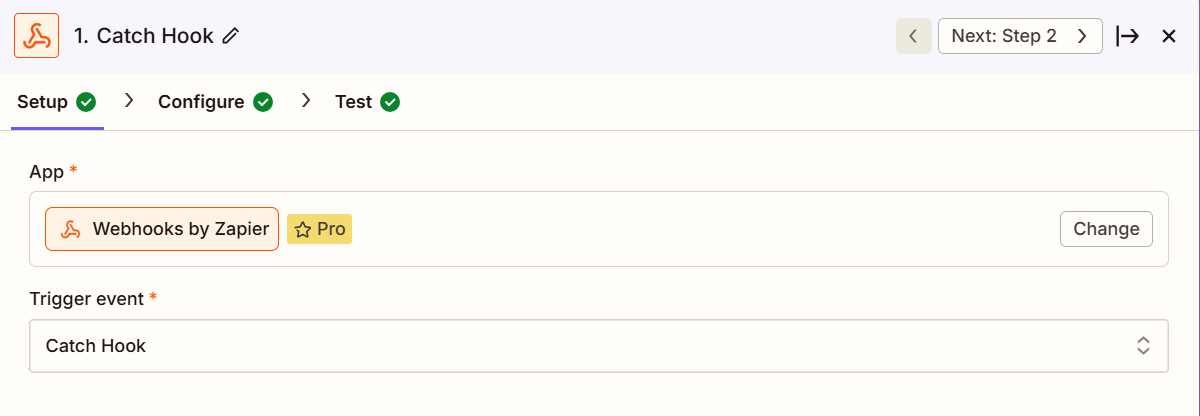
-
Pick off a Child Key should be used if the Zap should only ingest a subset of data from the payload. Hover the label in Zapier to reveal a more in-depth explanation.
-
Click Continue to move onto the Test step.
-
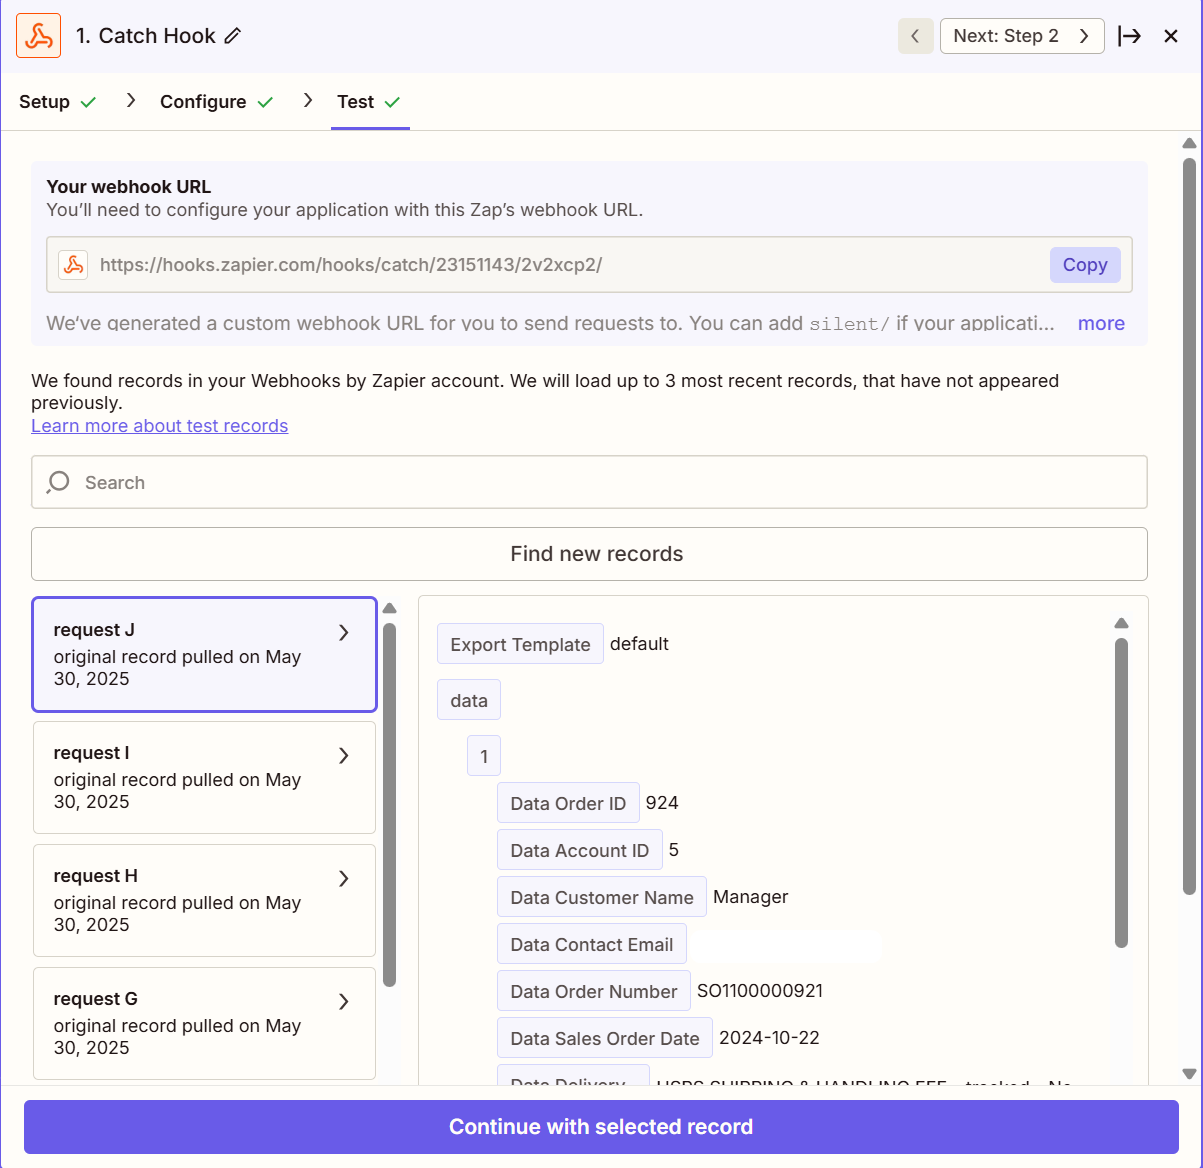
Copy Your webhook URL from the Zap. We'll need to set-up the Zoey Data Mapper to send data to that webhook to test.
-
Move onto setting up your new HTTPS Connection and Mapper. We'll come back to Test the catch hook once we've sent data to it.
HTTPS Data Mapper
Here's how to create a Data Mapper which will post data to the Zap.
HTTPS Connection to Zapier
Start by creating the Connection
- Go to Integrations > Zoey Data Mappers and click Add Connection.
- Set the Connection Type to HTTPS and provide a Connection Name.
This connection will only be used for the one Zap so its name should relate. - Paste in the URL Endpoint that we copied from the Zap. This is the webhook URL where data will be sent. Add the same URL for Test URL Endpoint.
- Set the HTTPS Method to "POST".
- Enter any 16-digit HTTPS Signature Key. Zapier does not expect a specific signature key.
- Set the HTTPS Signature Method to SHA-256.
- Save!
HTTPS Data Mapper to Zapier
Now create the mapper which will send data to your Zapier catch hook. The Zoey Object you choose, and how the mapper is configured, will depend on the data you want to send and the purpose it serves.
Click here for the general Data Mapper set-up guide.
- Click Add Data Mapper.
- Choose your HTTPS Zapier connection.
- Choose the Zoey Object to export data from.
- Set Type to HTTPS Export.
- Export Mode will depend on how you're expecting to handle the data sent by this mapper.
All Objects In One Request - All data will be sent in a single API Call.
One Object Per Request - An API call will be made for each record being exported. - Configure the Field Mappings to determine what data is sent in the HTTPS call!
- Save!
Test in Zapier
Now that the HTTPS Connection and Mapper is set-up in Zoey, we can run it and send data to the Zapier Webhook.
Use the 3-dot menu to Run your mapper and begin sending data. HTTPS export can also be scheduled in your mapper to run automatically!

After running the mapper, go back into the Test section of your Zapier catch hook. Run the test and you should see the requests and data have made it to your Zap's endpoint.
From there you can select a request to work with its data in your Zap.
Congratulations! With that, you'll have successfully posted data from your Zoey Store into Zapier for further processing!
The data in the selected request will be able to be used in subsequent steps in your Zap for testing and development.
Calling the Zoey API from Zapier
Tons of updates or changes can be made to your store through the Zoey API!
Set up Zoey API Client
Navigate to Settings > API and open up Zoey REST API - oAuth 2 by clicking Manage.
Here yore active OAuth2.0 clients are listed. They provide access to make calls your store's API.
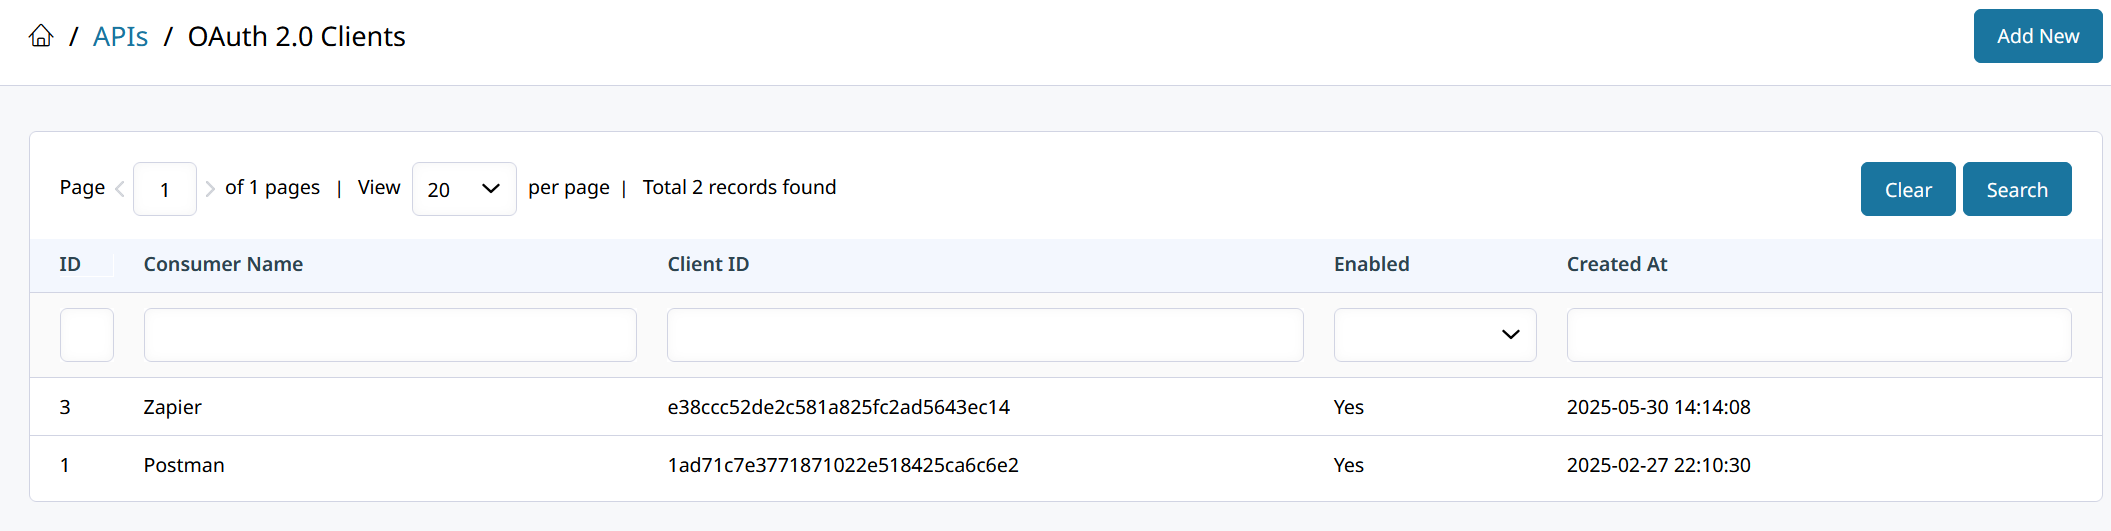
Click on Add New in the top right to begin configuring the new OAuth2.0 client that Zapier will connect through.
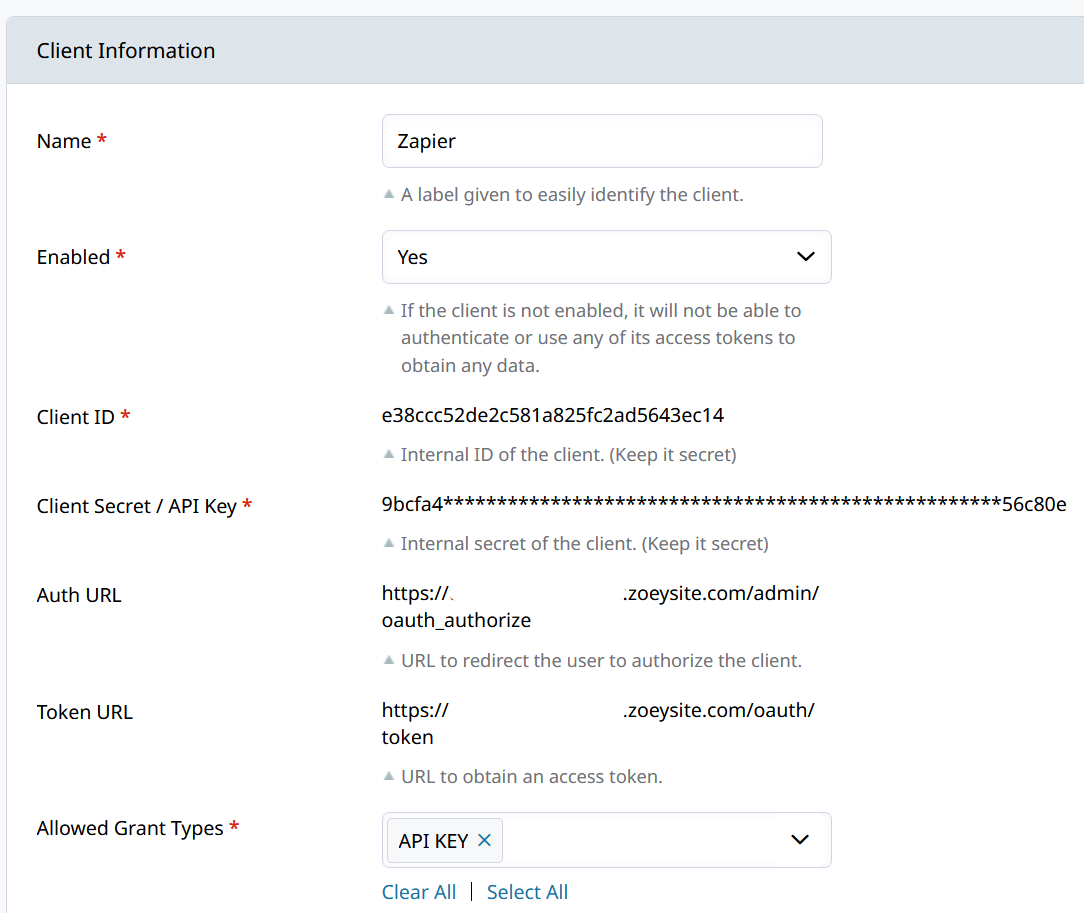
Like the example above, provide a Name, set Enabled to Yes, and choose API Key as the Allowed Grand Types.
Click Save and proceed to the next steps.
Send an API Call to Zoey from a Zap
Firstly, your Zap must have a starting step to begin the chain of events. A subsequent step can be the outgoing webhook to the Zoey API.
The starting step can be a webhook sent from Zoey to Zapier on a schedule from an HTTPS Data Mapper.
Zapier Webhook to call Zoey API
Add a step in your Zap and choose Webhooks.
-
Action event should set to Custom Request, then hit Continue.
Standard actions may also work but some API calls will require the custom type. This depends on the data you're sending. -
The Method will depend on what type of call you're making to the Zoey API.
We'll use a Product PUT Update in this example. -
Enter your URL endpoint that the call need to be sent to. This can vary depending on the type of call you're making.
Example:https://your-store-url.zoeysite.com/api/rest/products/:productIdThe URL used in your API calls must be the final endpoint URL of your store! No redirects can occur so the endpoint URL must be final and include
www.if necessary.
📘:productIdshould be replaced with Zapier Data. Click the + symbol in the URL field to search through data available to this Zap. Select a value that contains a Zoey SKU or Product ID.
For this example, and in most connectors, that product identifier would be obtained in a prior step.
Each API call can update just 1 product at a time. Your Zap must loop through the a product array and send the calls to update many products in Zoey.
-
Data Passthrough can be set to False.
-
Data is the Body of the API call. Enter the data payload for there. For an example, we can update the stock quantity and status of a Zoey Product through the Put Update Productcall with this data:
"stock_data": {
  "is_in_stock": 1,
  "qty": "65"
}
This will update the product's qty and in-stock status.
-
Skip the Basic Auth field, instead we will put our API Key into a Header. Copy the
Client Secret / API Keyfrom your Zoey OAuth 2.0 client. -
Add a header of
API-Keyand paste in the key / secret from the Zoey client.
Keep your API Key secret!!
-
Hit Continue and then test this step of your Zap!
You should be successful in sending a call to the Zoey API through Zapier!
Many AI tools have extensive knowledge of the steps to connect APIs using Zapier!Don't be afraid to ask it questions!
Updated about 1 year ago