Printing Packing Slips
A packing slip is a sales document that accompanies shipments sent from your store, and lists each item included in the package. You can print a packing slip for a single order, or print multiple packing slips as a batch, or group.
A packing slip requires at least one shipment on the order, since it serves as a manifest of items being shipped.
If you need a document before creating a shipment, use a Pick List instead since it shows unfulfilled items that still need to be shipped.
For orders with partial shipments, the Pick List displays only the remaining unshipped items. Once all items have been shipped, the Pick List will be empty.
To Print a Packing Slip:
Go to the Orders or Shipments list.
Check the box next to the order (or the shipment) to select which packing slips you need to print.
From the Shipments list, open Bulk Actions > Print Packing Slips to open the print preview and send it to a printer.
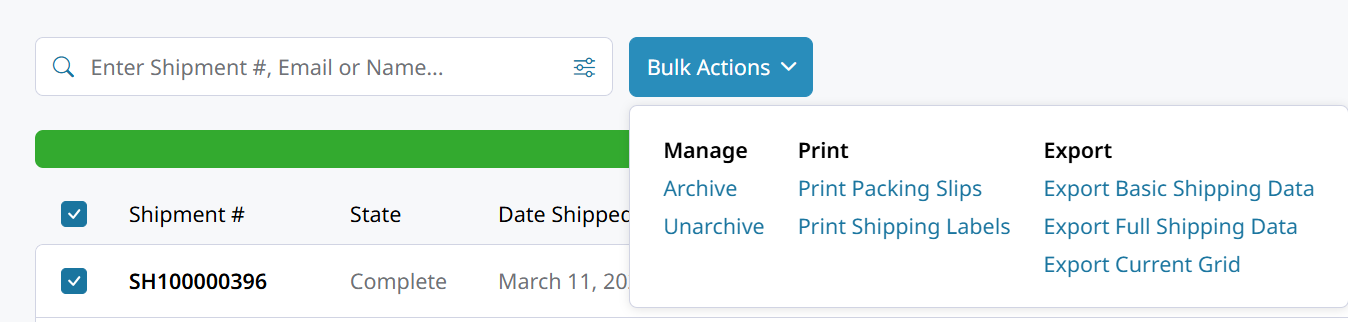
From the Orders list, open Bulk Actions and choose whether to Print or Download the packing slip for each shipment on the order.
Packing Slip Settings
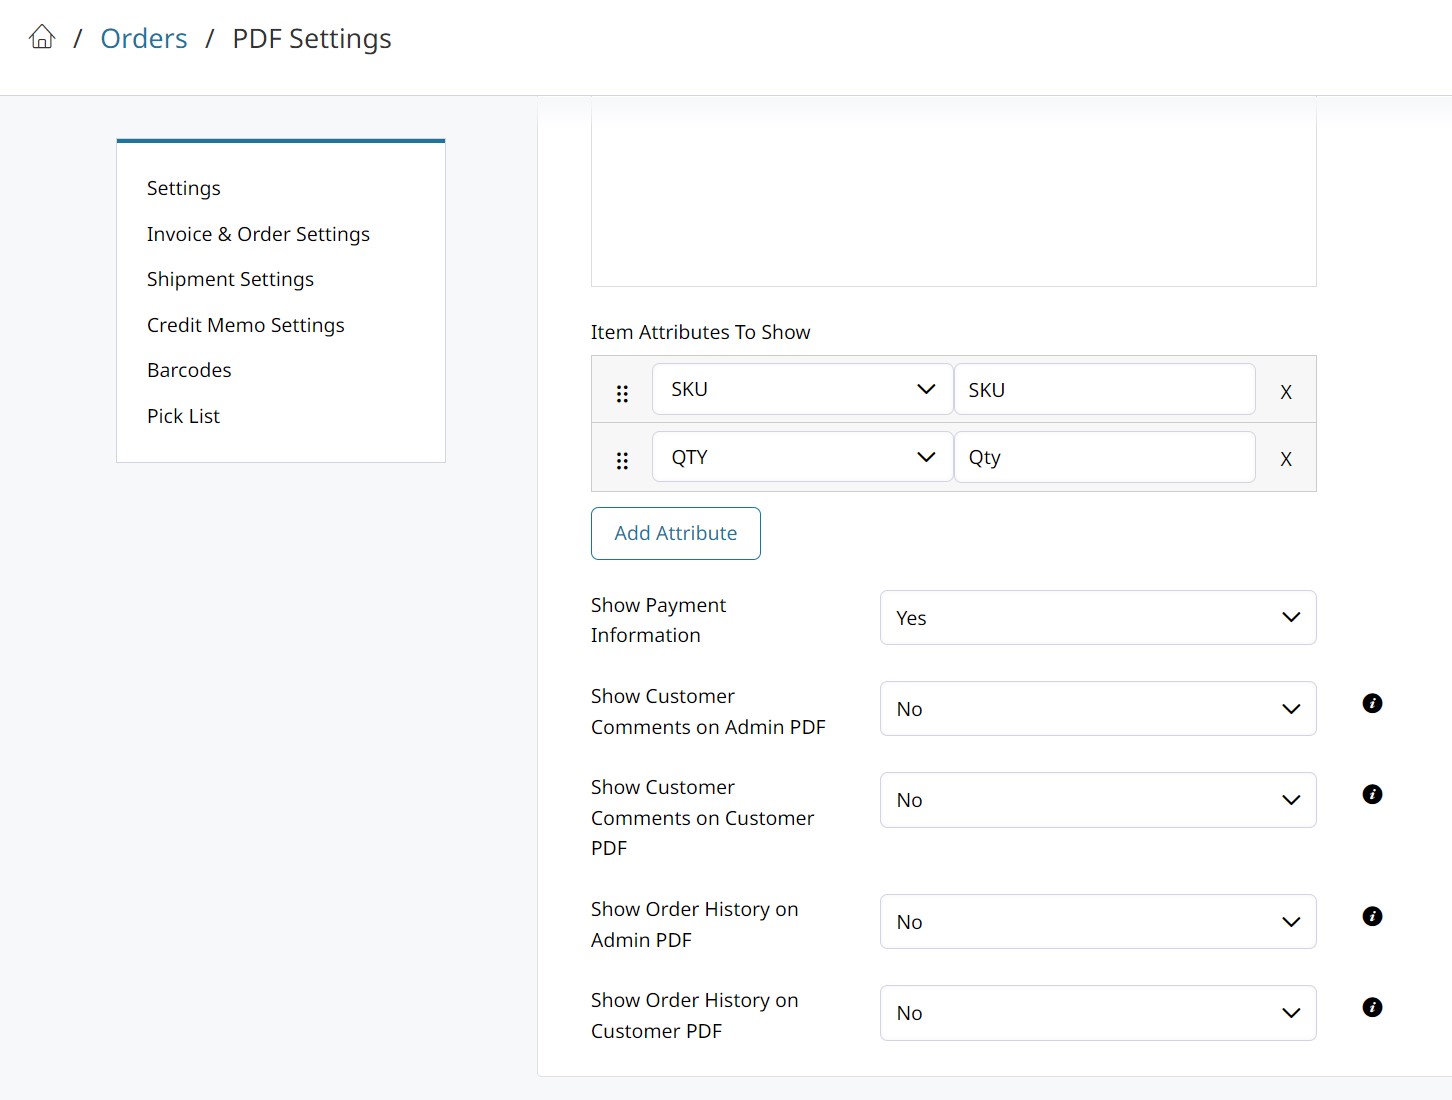
You can find the Packing Slip settings in Orders > PDF Settings > Shipment Settings.
Here you will find various settings such as adding Product Attributes, like Barcode or Bin Location, for example. You can also remove any Order Comments by setting Show Customer Comments and Show Order History to No.
Attach Packing Slip to Shipment Email
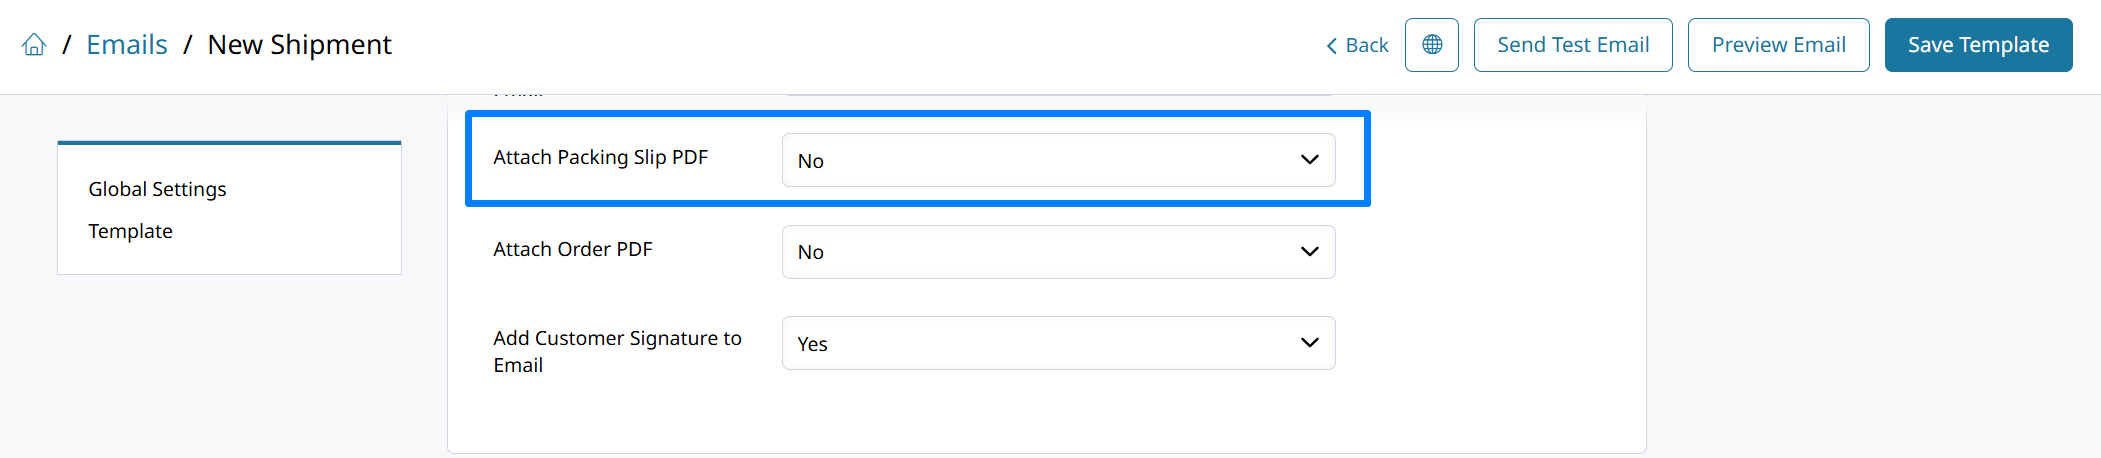
Go to Settings > Emails > New Shipment to open the Shipment email template. Near the bottom of the settings there will be Attach Packing Slip PDF.
When set to Yes, that setting will attach the shipment's packing slip to the email. This makes sure your customers always receive the packing slip for their shipment.
Updated 4 months ago