Shipping an Order
Once an order has been placed, an invoice has been created, and payment has been received, it's time to ship.
If you are using a third party shipping integration such as ShipStation or ShipperHQ, this part is often automated for you.
Select Order
From your Control Panel, select Orders. From this page, click the order you intend to ship. You can ship any order in the Processing or Pending status and the majority of users do not ship until the invoice has been paid.
Click Ship in the top right corner.
Add Shipping Information (Tracking Number)
In the Add Shipping Information section, click Add Tracking Number to enter information about the carrier.
You will see three fields to customize:
Carrier | Choose the shipping provider being used to ship the order. |
Title | Automatically fills with established shipping providers. Choose Custom Value to enter in an alternative carrier not listed. |
Number | Enter a numeric value for your invoice's tracking number. |
Edit Quantity (Optional)
You may receive a request from your customer requesting an extra item, or you may have a short supply of the product in stock and need to update your customer. Enter in a numeric value to change the quantity of each product shipped to your customer.

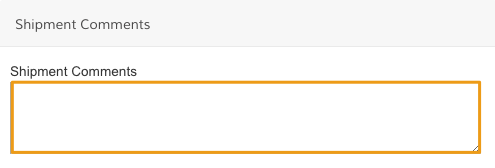
Add Shipment Comments (Optional)
From the Shipment Comments section, enter in any additional notes about the order or instructions for your customer.

Submit Shipment
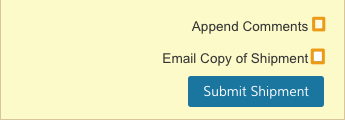
When your shipment is ready to be completed, scroll to the bottom of your screen. You will have a few options before submitting your shipment.
Email Copy of Shipment | Click this checkbox to send your customer a copy of the invoice. |
Append Comments | Use this option to send customized information about the order. The checkbox is only editable if you click Email Copy of Shipment. |

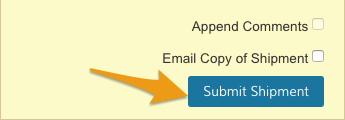
When you're done, click Submit Shipment.

Updated 7 months ago
